Introduction
Get started with DB Vis, a database visualisation app where you can design and visualise database schemas easily.
Quick Start
Don't want to create an account, but want to try the features? Just select Use as Guest from the navigation bar to try out the diagram builder.
Creating a Group
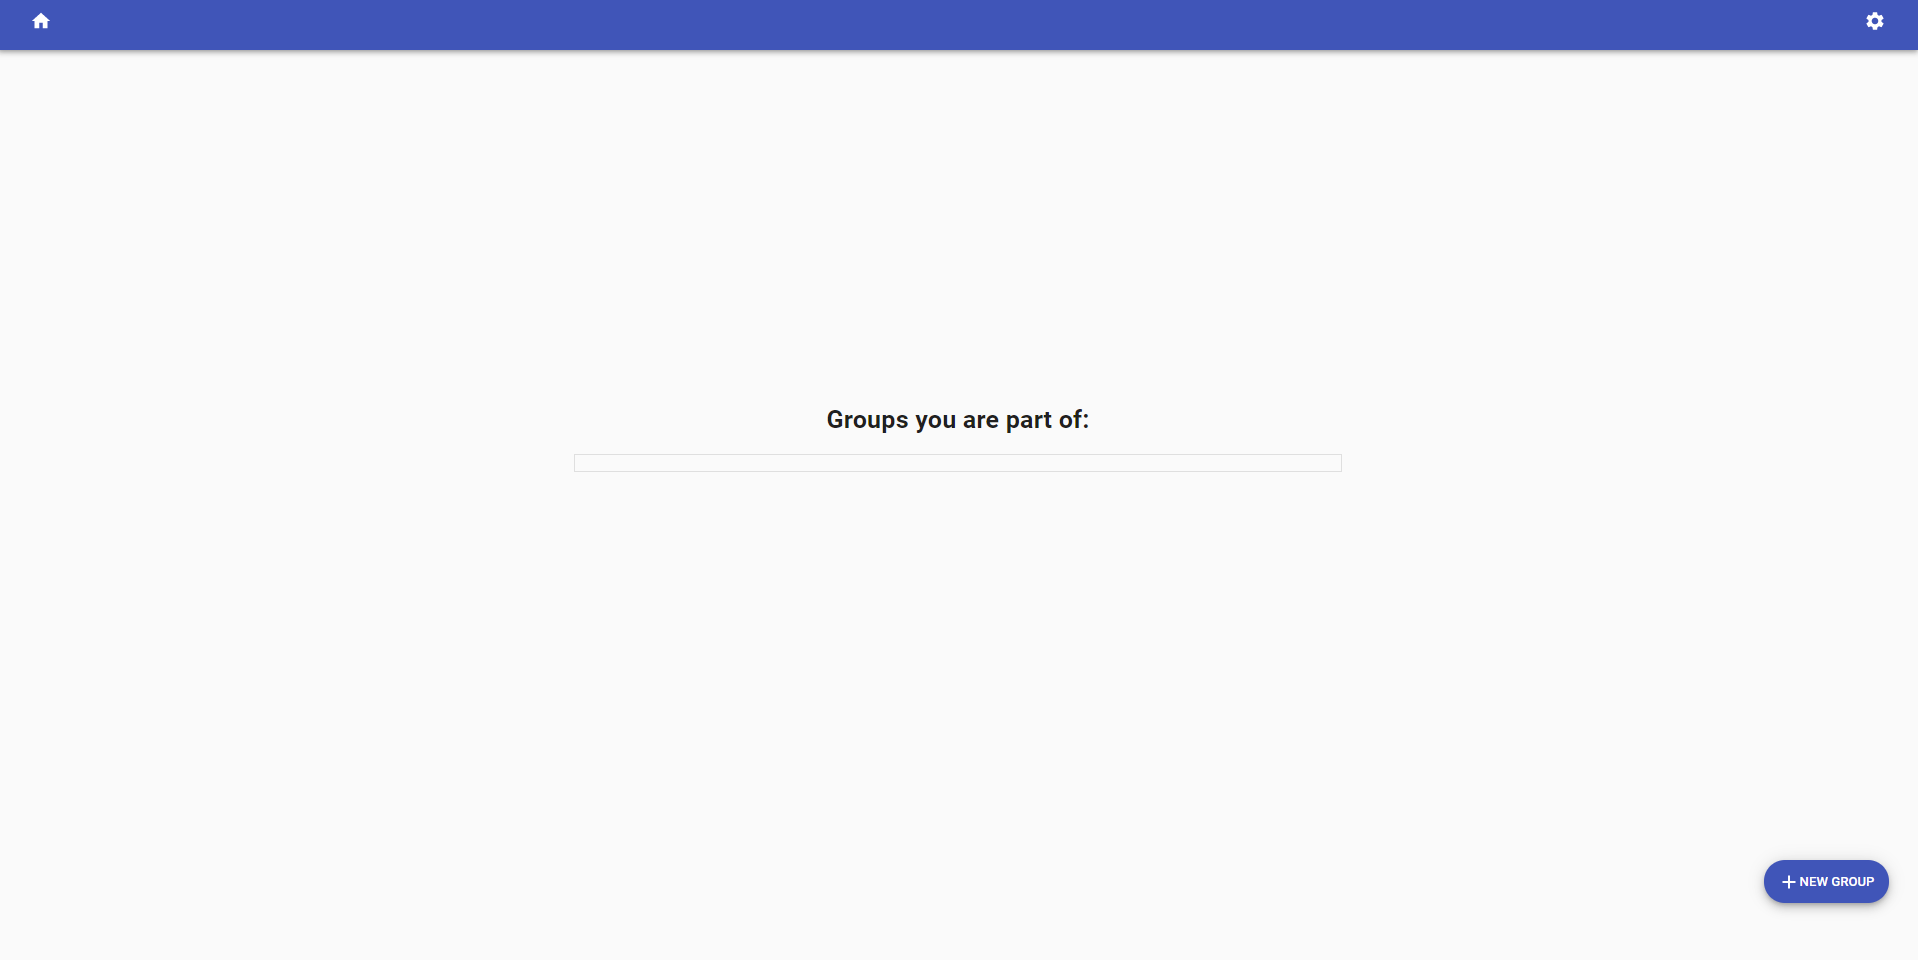
To create a group, just log in, and click the + NEW GROUP button at the bottom right hand side of the screen.
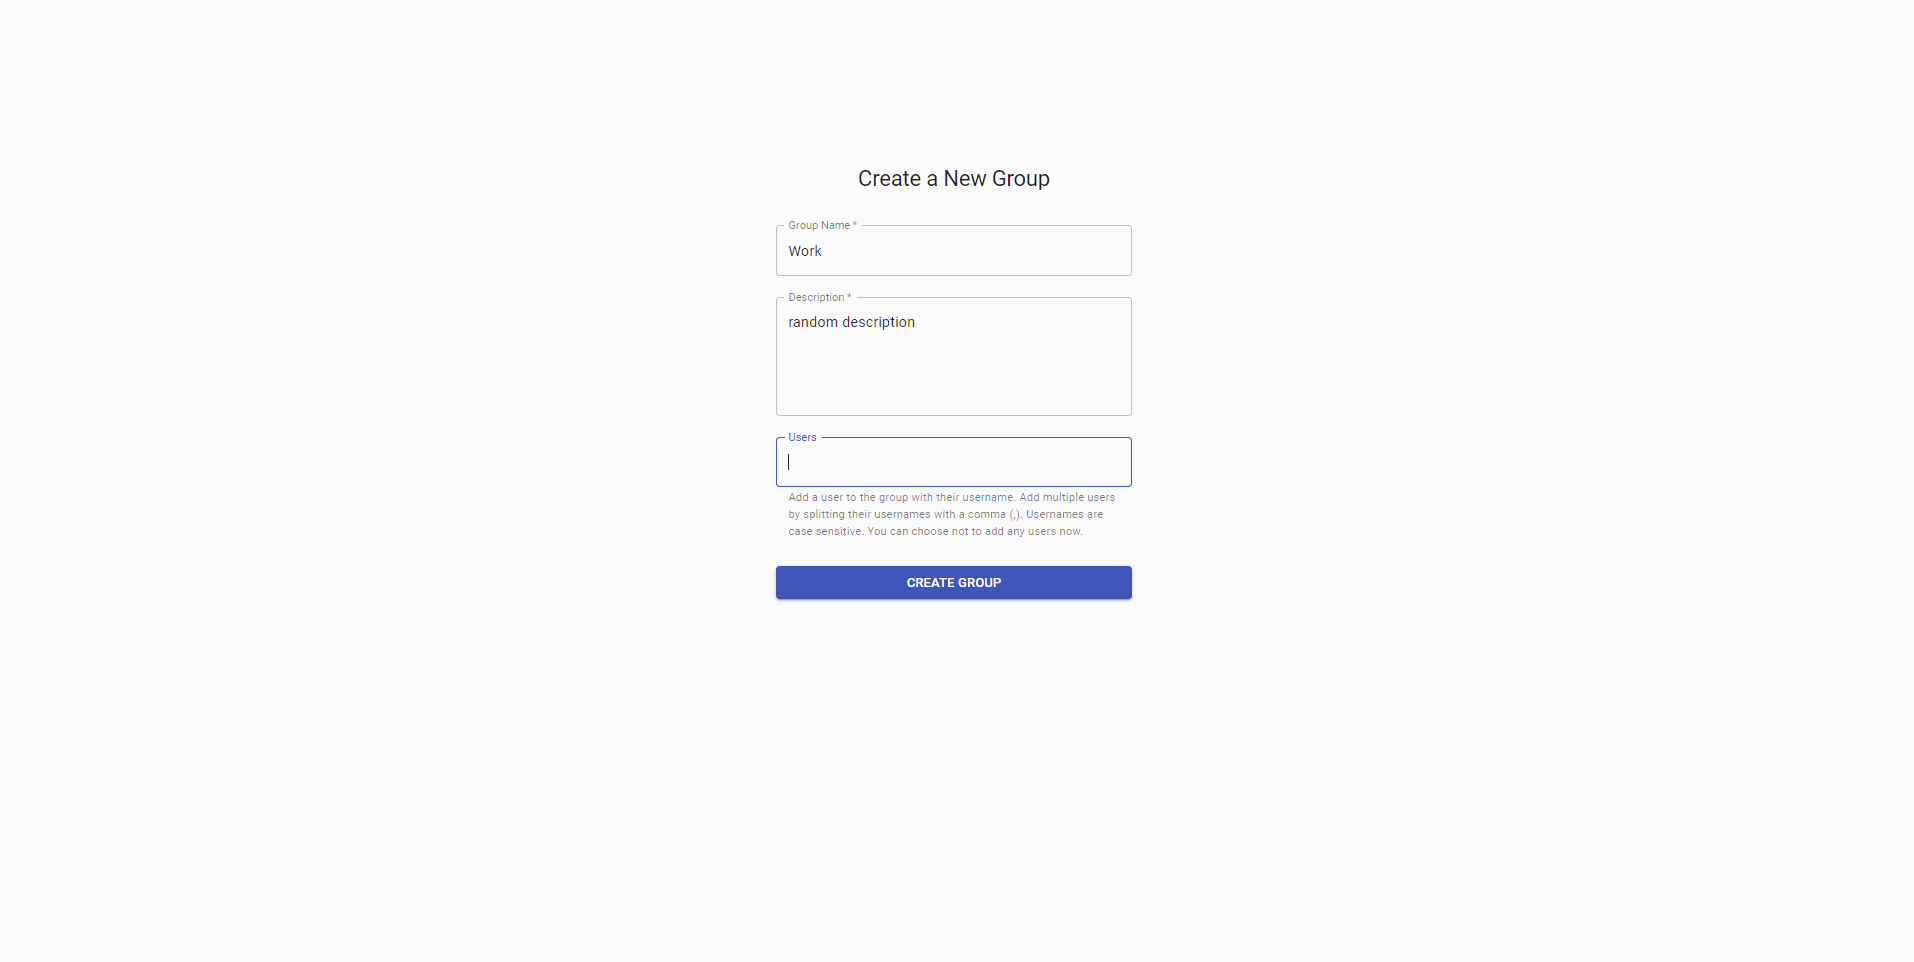
Then, fill in the group name, description and users to be added, as per your requirements.
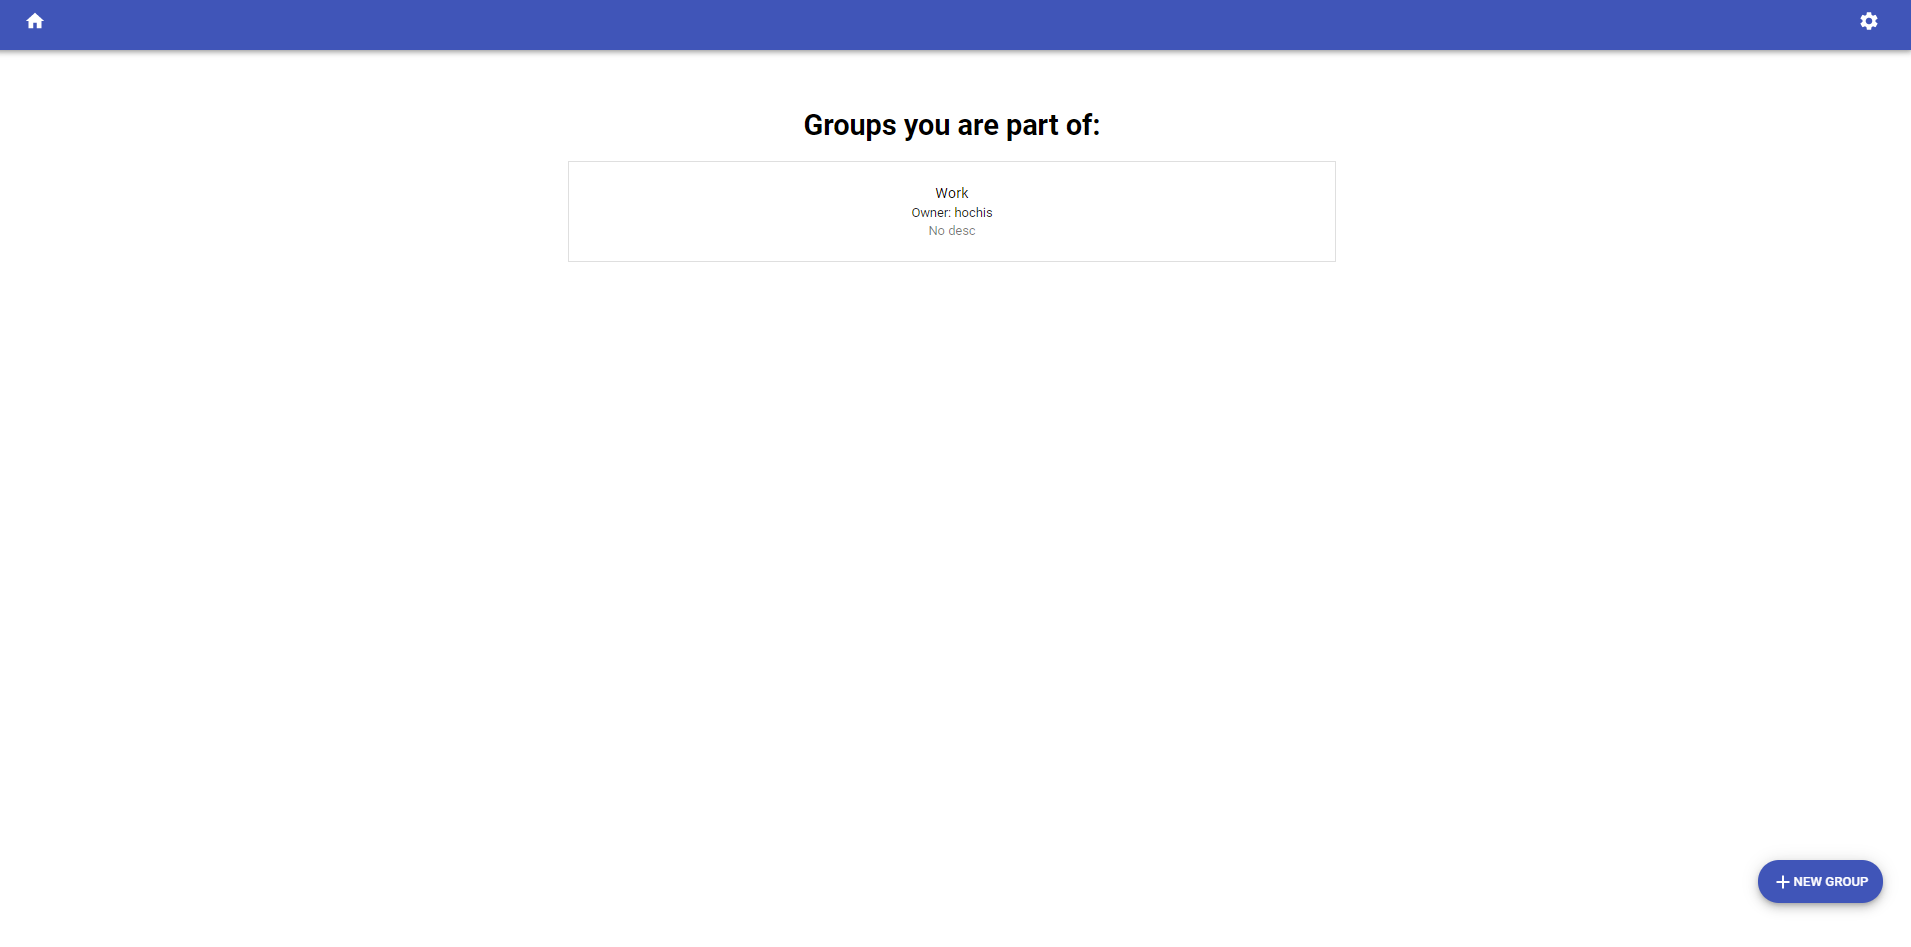
Once you have created your group, you will be redirected back to the groups page where you can select a group's database to browse.
Creating a Database
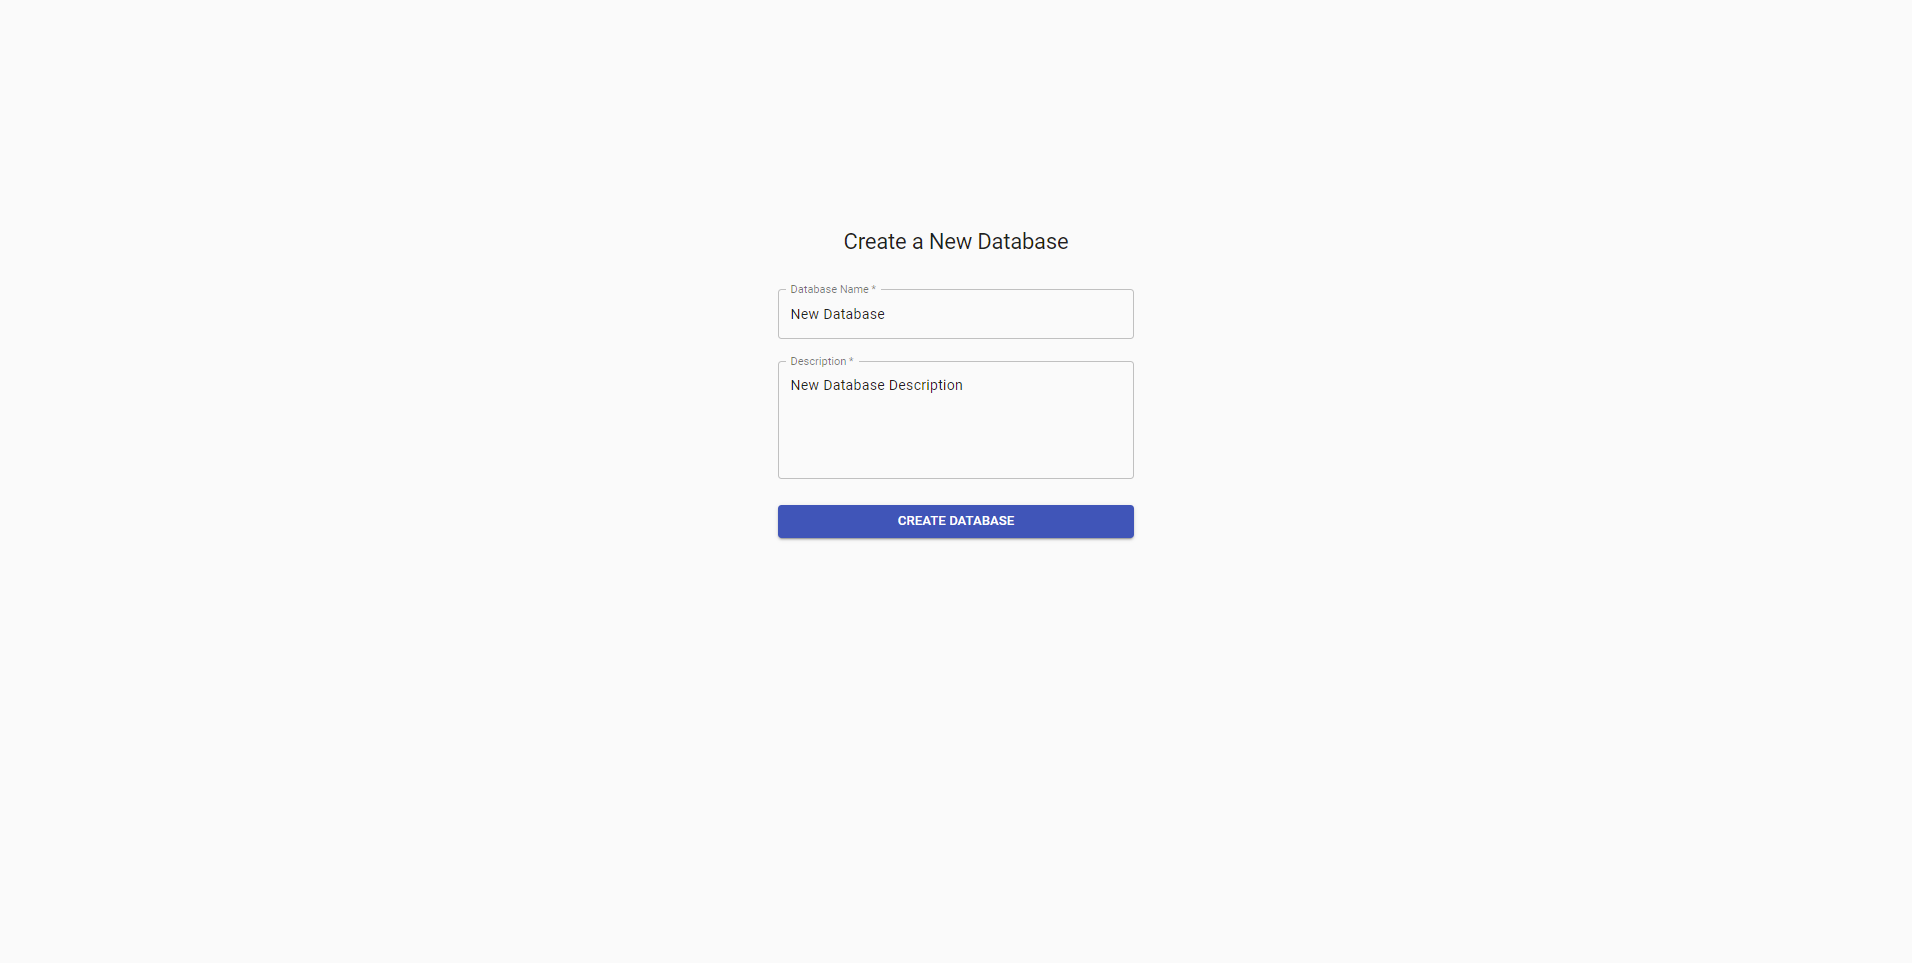
Creating a database is very similar to creating a group, just without adding users. Click on the + NEW DATABASE button at the bottom right hand side of the screen, and you will be redirected to a page where you can key in details of your database.
Once you have your database created, you can go ahead and select it.

Creating Tables
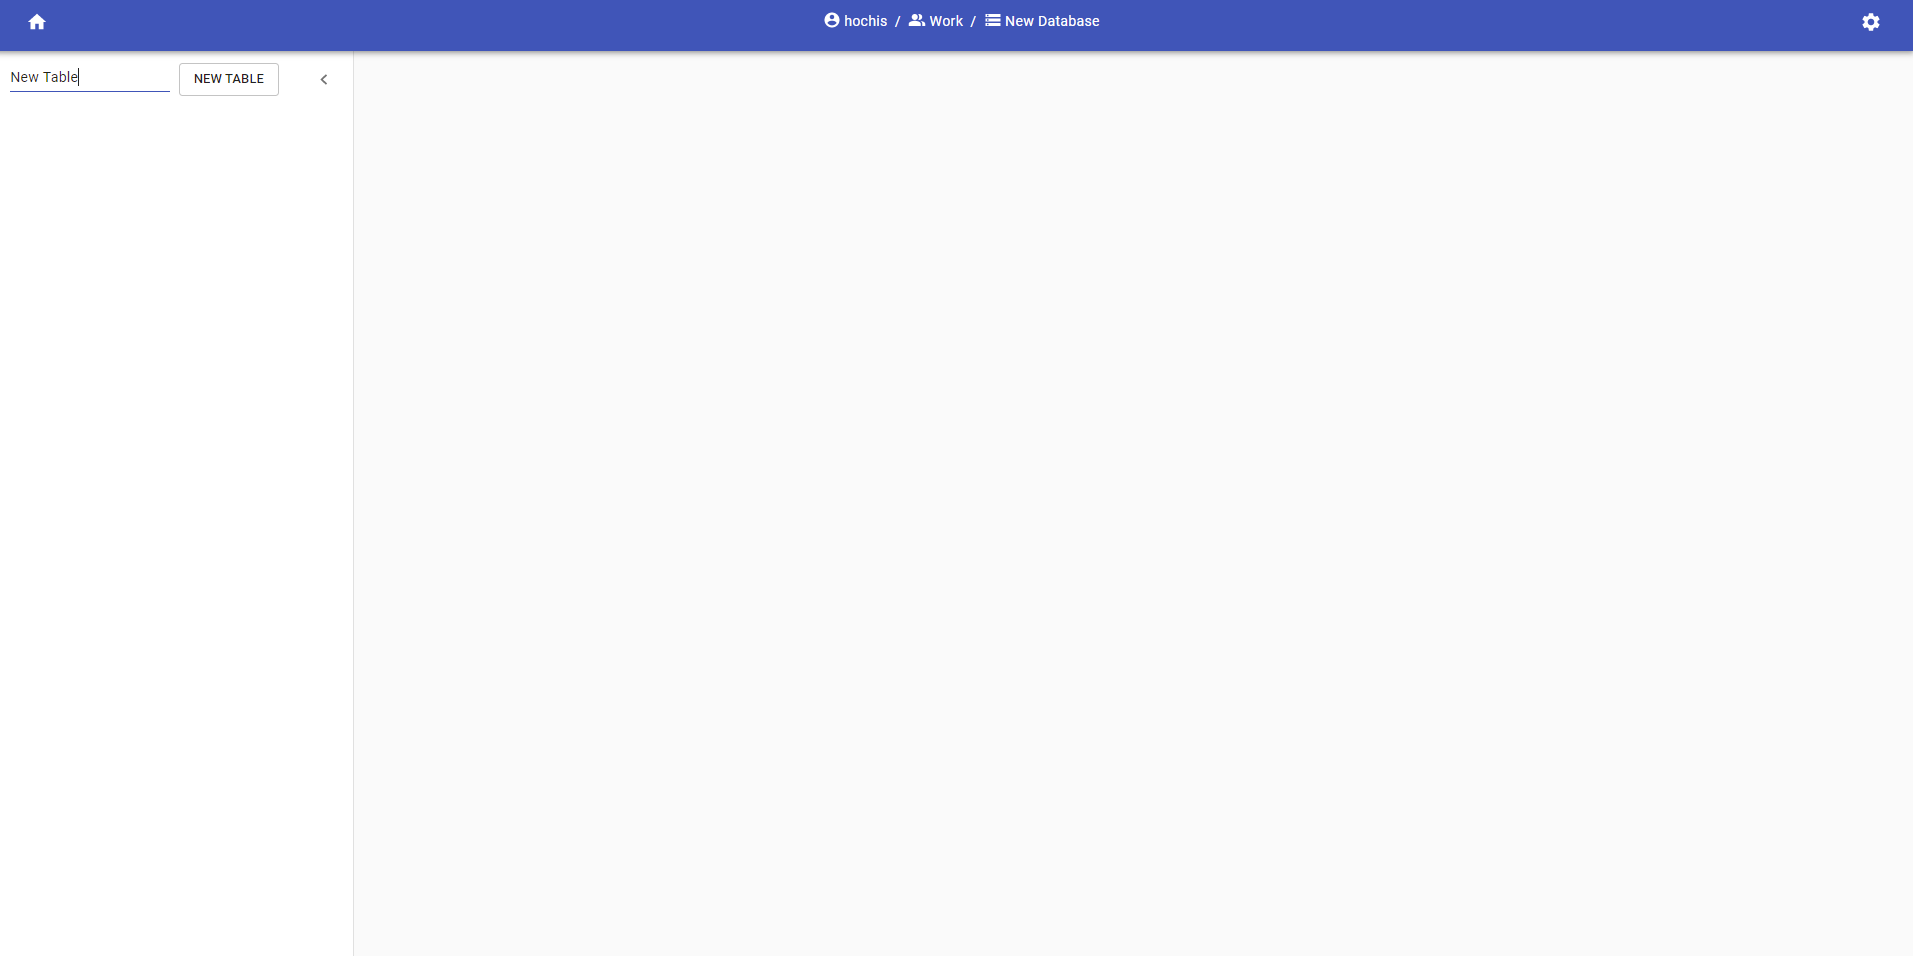
Great! Now that your group and database has been set up, you can open up the tables drawer with the burger icon at the top left hand corner, and create a new table by filling up the text field, then clicking on the NEW TABLE button.
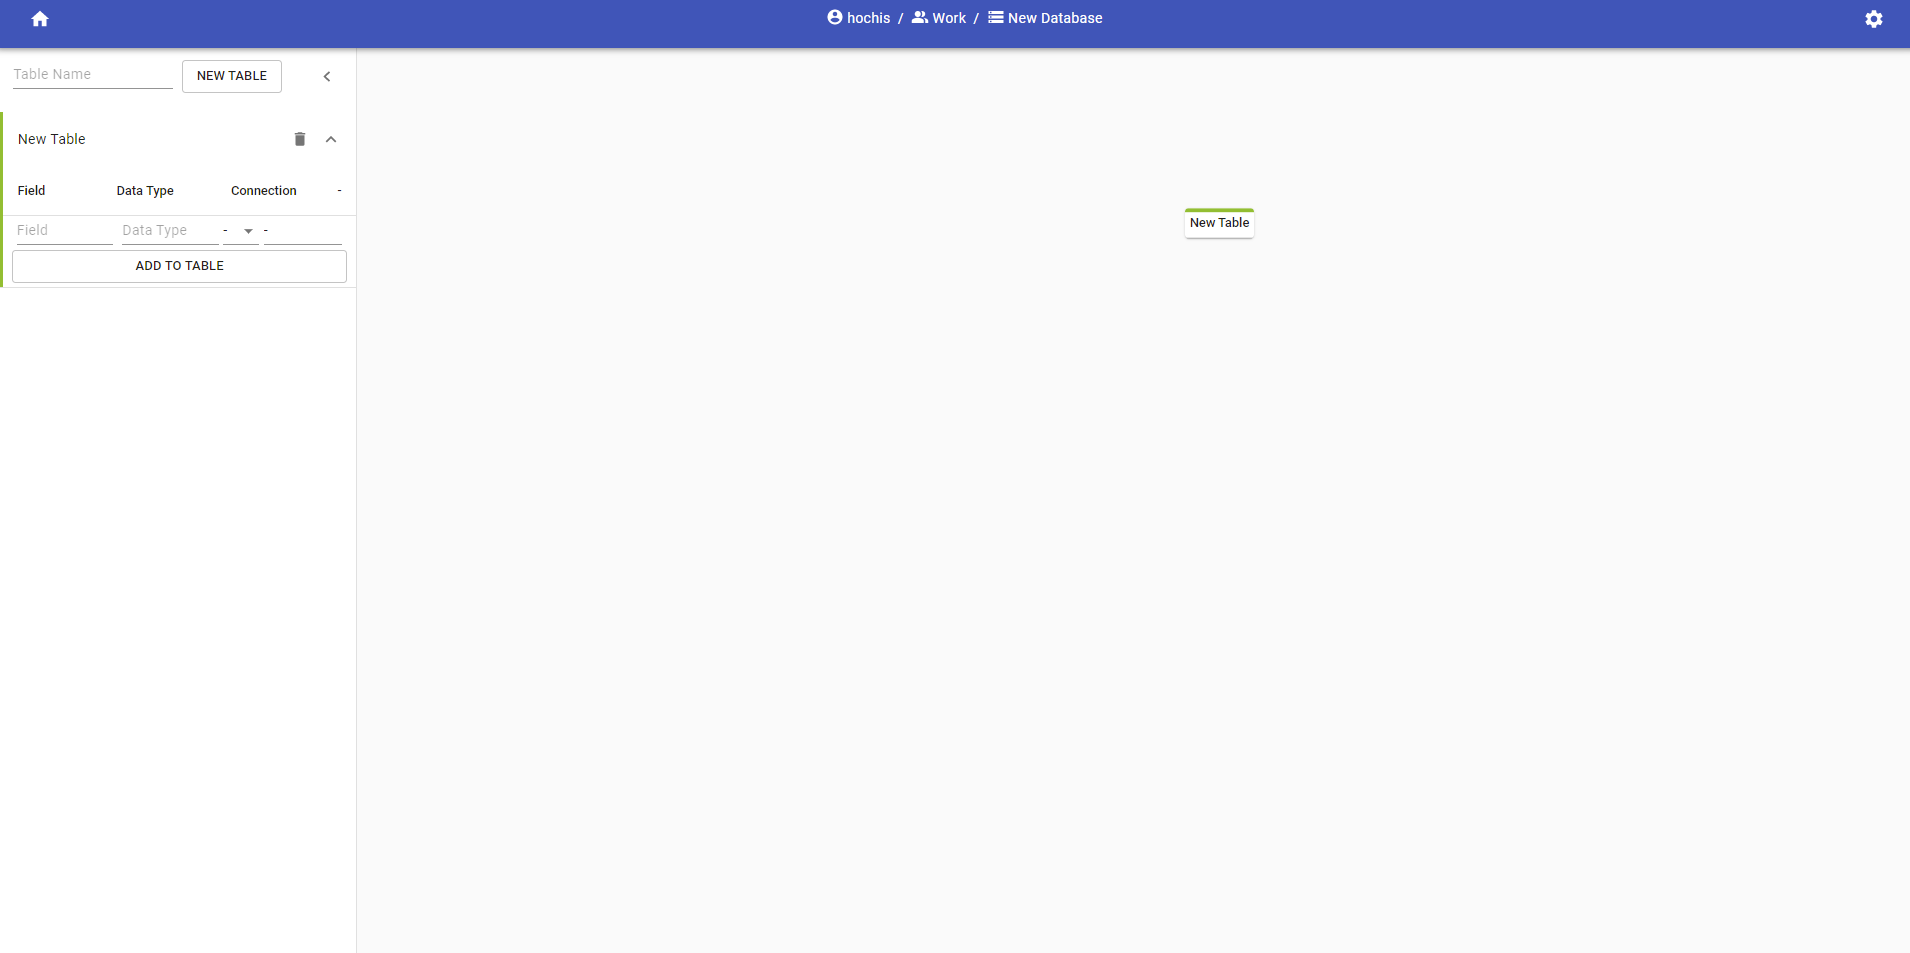
Once you're done with that, you will see a small box pop up in the middle of the screen. That box is draggable, and represents the schema of a table in your database. The tables are color-coded, meaning it is easier to identify which table you are looking at based on its color.
Creating Fields
Once our tables are out, you can go ahead and start to add some fields to the tables using the drawer.
There are three fields you can add to. Field, Data Type and Connection. The "Field" field is header name of one of the columns in your database. The "Data Type" field is the attribute of the data that is used in that column, for example, int, varchar, date, etc.
Different database types will have different restrictions or names for the fields and data types, so there is no validation on those two fields.
For our third field, the "Connection" field, it is separated into two parts. The type of connection, and the "connection string". The thing that "connection string" is referring to here is not the typical use case for "connection string", but is instead something that I came up with to make it easier to connect fields between tables.
The type of connection can be "-", "P", or "F". "-" means the field does not have any connections with fields from other tables. "P" means that the field is a primary key, and is unique for each record, allowing us to identify the row in the table based on the key. "F" means that the key is a foreign key, and is used to connect data from a certain table to a primary key of another table.
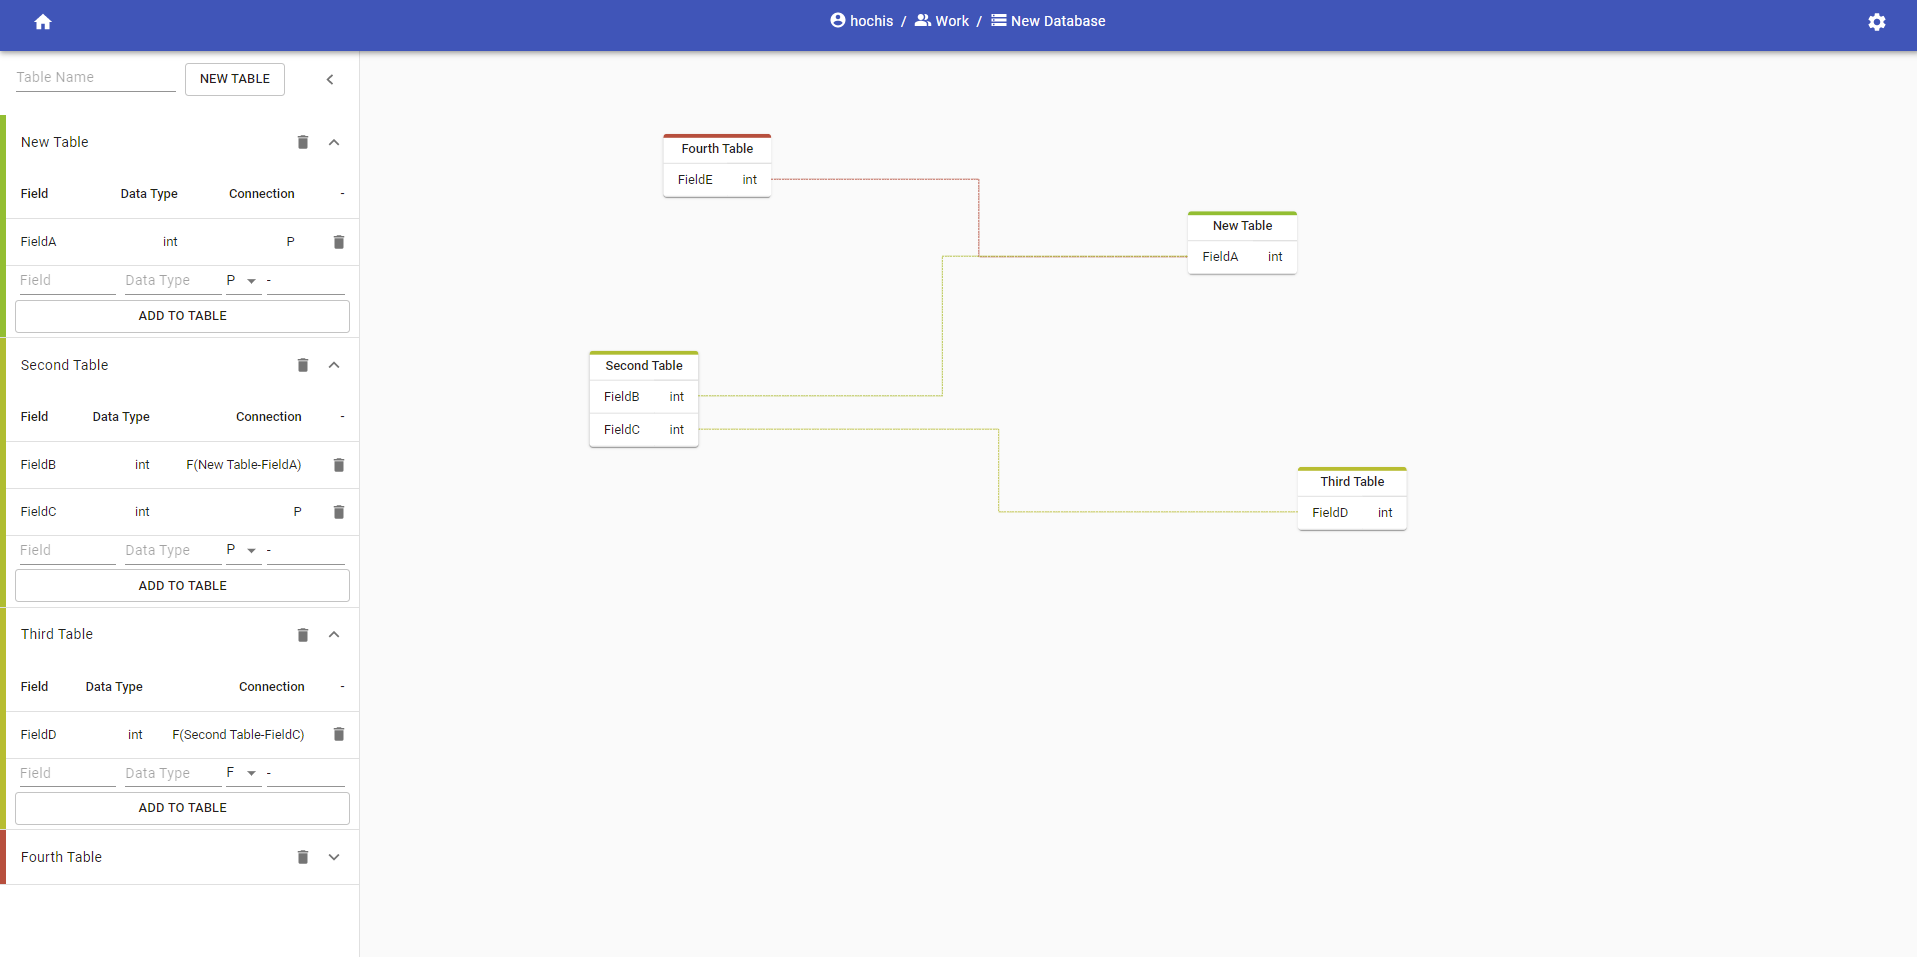
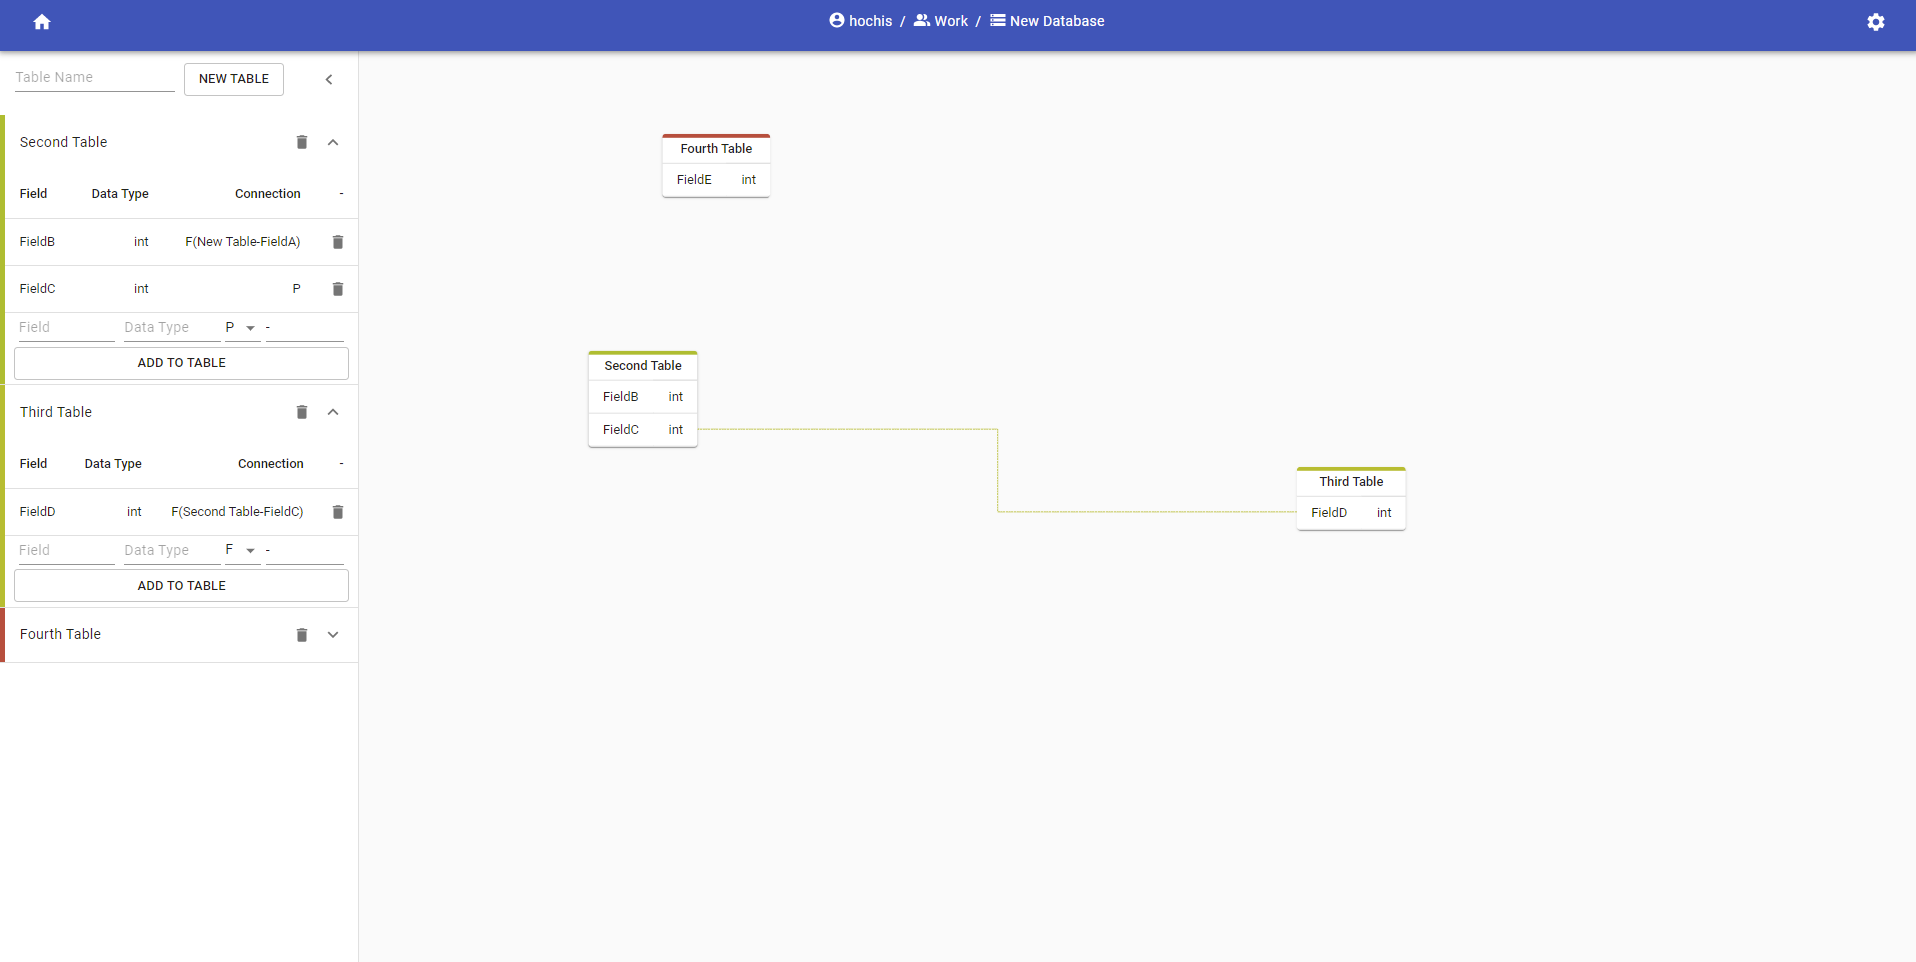
In the case of DB Vis, it was made such that a field can connect to only one other field, but a field can have multiple connections going into it. This is a simple diagram created with 4 tables and a few connections. The color of the arrow is determined by the color of the table holding the foreign key.
Deleting Tables
Other than creating tables, you can also delete them, if you feel that there is no longer a need for them. Just click the trash bin to the left of the up/down pointing arrow in the drawer. A dialog will pop up asking you to confirm the deletion. Once a table has been deleted, there's no getting it back! (But of course it's easy to re-create again.)
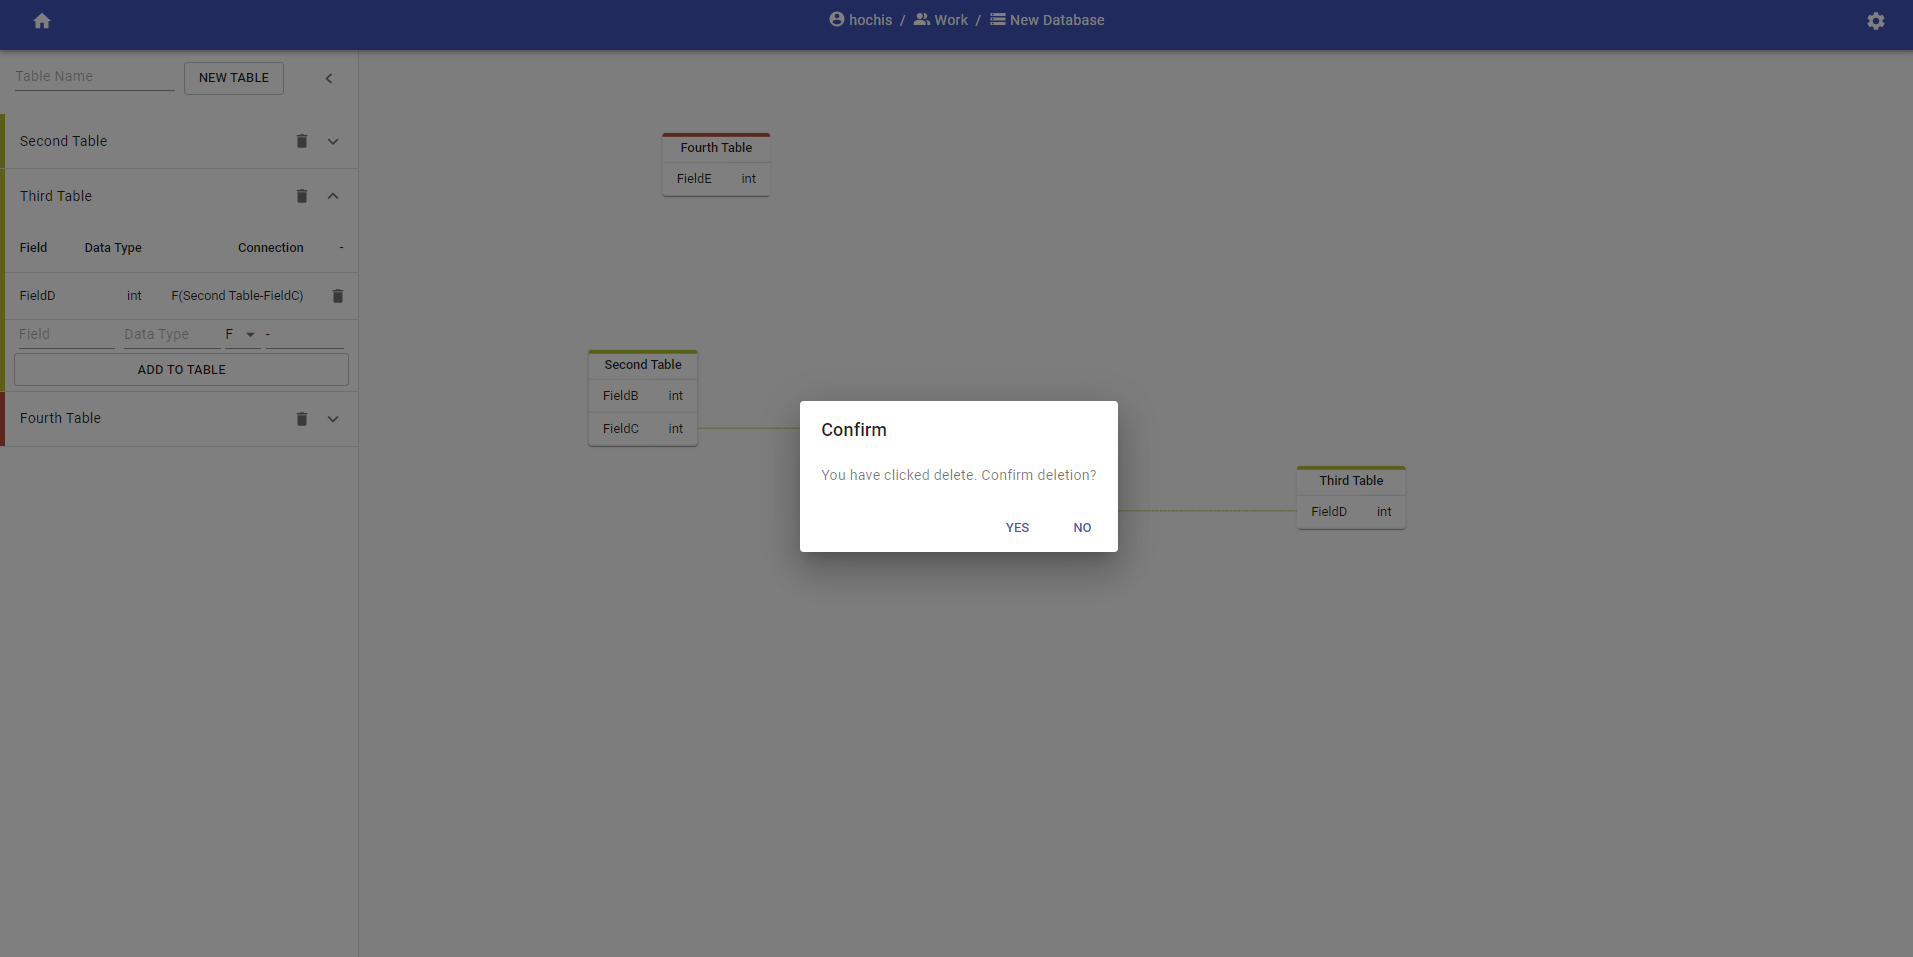
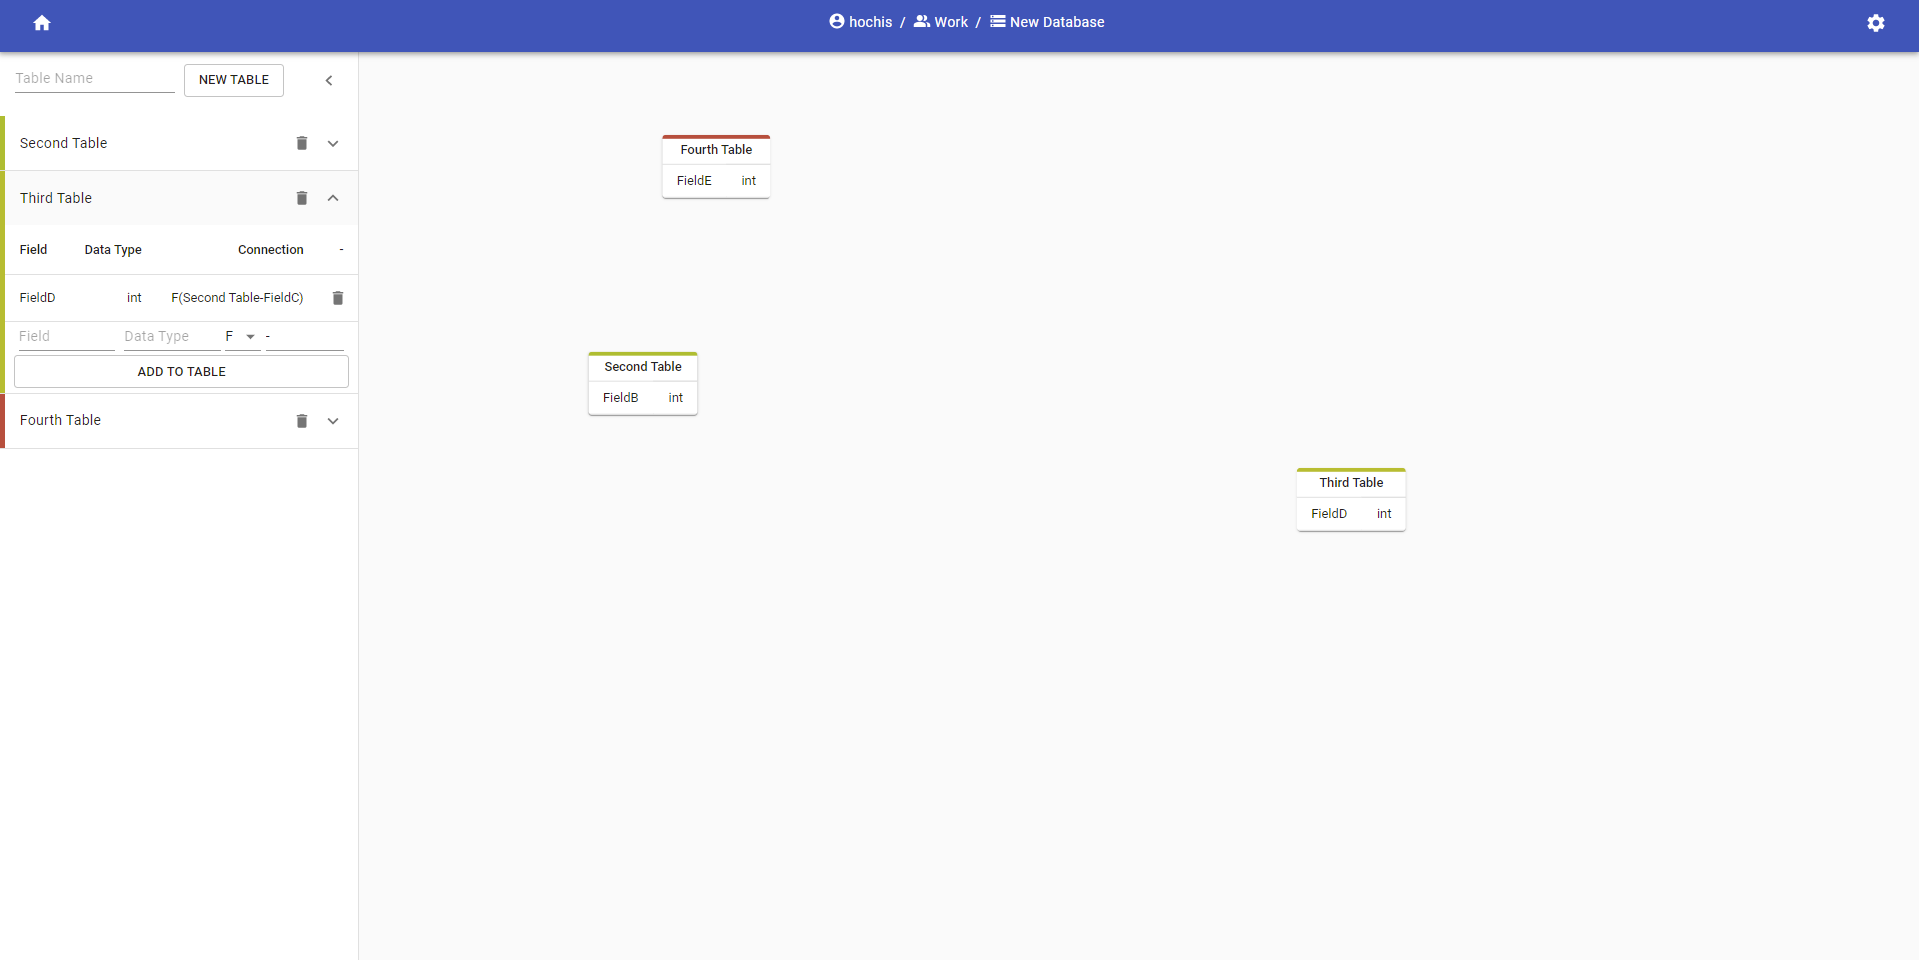
Once a table has been deleted, all its connections will be lost. Notice that the connection between the Fourth Table and Second Table from the First Table is no longer there
Deleting Fields
You are also able to delete individual fields. Simply click on the trash bin next to the field. There will be no warning for the deletion of fields, so be careful. Connections from the deleted field will also be severed.
Thanks for reading all the way to the end (if you did). This is the end of the help section.